1. Click on the Windows Start menu and choose the Mail app on the Start Screen:
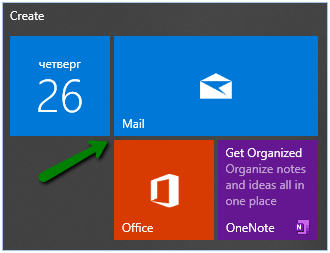
PLEASE NOTE: The Start Screen may look different on your side and Mail app might be missing. Therefore, feel free to use Search charm to find the app.
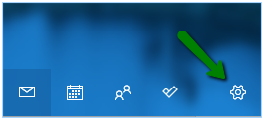
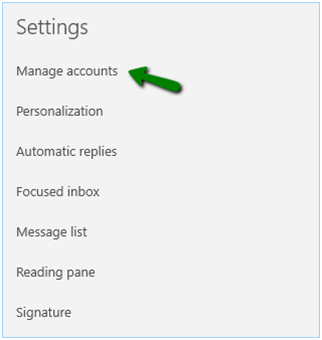
NOTE: On a phone or tablet, tap the three dots at the bottom of the page to access Settings.
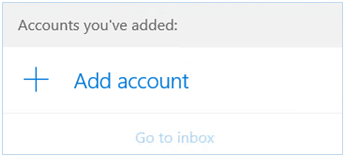
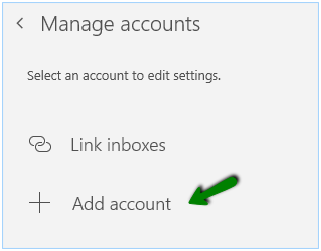
After you’ve done this, select Add account:
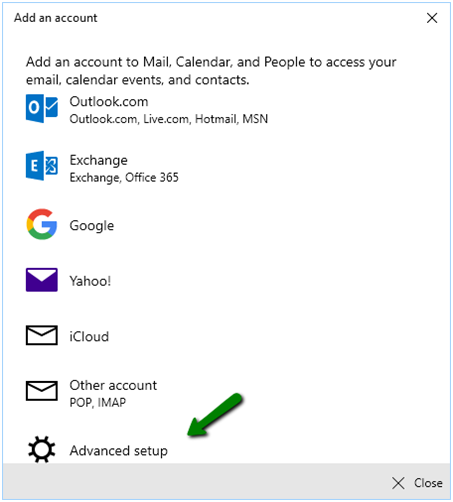
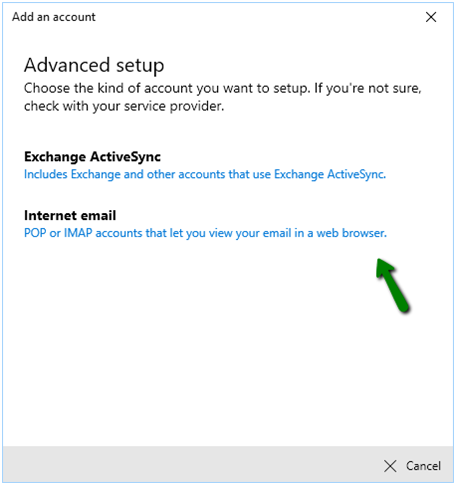
a. Email address: your full email address
b. Username: your full email address
c. Password: your password for this email account
d. Account name: the name that you'll see in the left navigation pane of Mail for Windows 10
e. Send your messages using this name: the name your recipients will see when they receive your message
f. Incoming (IMAP) email server: the server your account is hosted on
g. Account type: IMAP4 or POP3
a. Outgoing server requires authentication
b. Use the same username and password for sending email
c. Require SSL for incoming email
d. Require SSL for outgoing email

 English