
 English
The phpMyAdmin tool allows users to DROP a particular column in your table instead of deleting the entire table itself. This article discusses how to drop (permanently delete) columns from a database table in phpMyAdmin.
It is recommended that you make a backup before you perform any destructive actions, such as dropping database columns or tables. Without a backup, there will be no way to restore anything mistakenly deleted.
To drop a column from a table:
1. Log in to your cPanel or Plesk.
2. Navigate to your control panel and click the phpMyAdmin icon.
Plesk: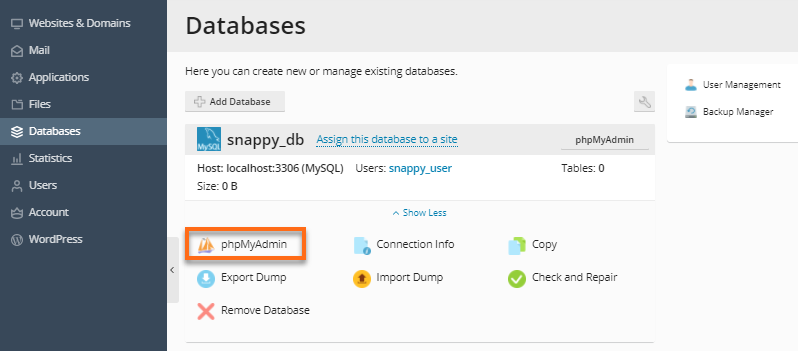
cPanel: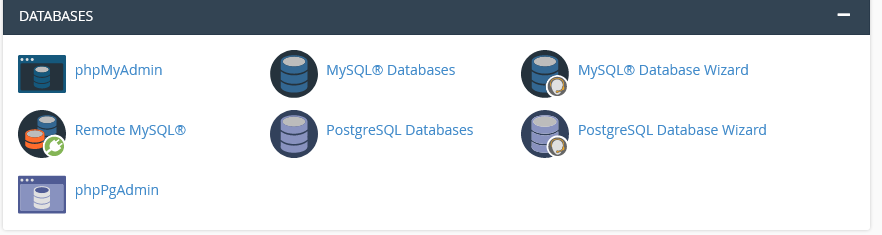
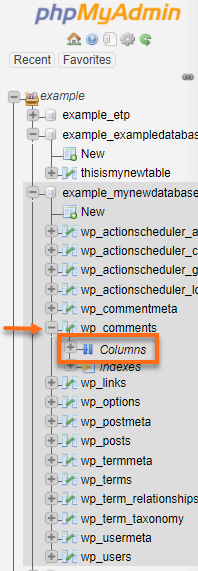
3. In phpMyAdmin, locate the database name from your list of databases, then click the expand + icon.
4. From the list of tables under the database, click the expand + icon of your selected table.
5. Click Columns.
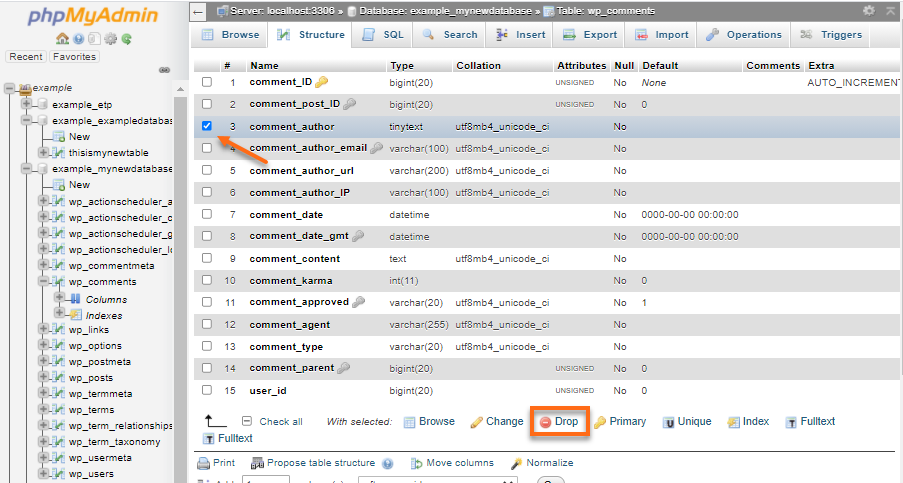
6. In the Columns' Structure tab, select the column name(s) you wish to drop (permanently delete).
7. Click the Drop icon from the list of Actions as shown below.
8. The phpMyAdmin will prompt you the command it will run:
ALTER TABLE 'your_selected-table'
	DROP 'your_selected_column';
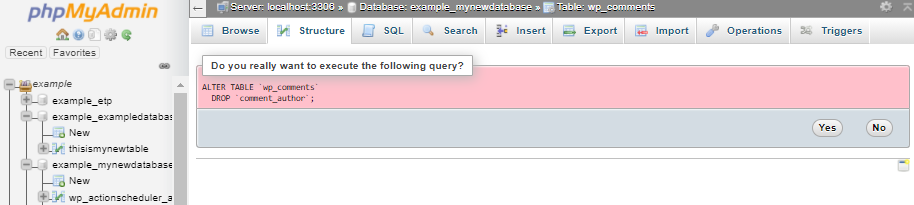
9. Make sure that this is the column you want to drop. Click Yes to confirm the deletion.
Once done, this column is now no longer part of your table.
