Macedonian
Plesk offers a variety of features and options for controlling, managing, and securing your site. One such security feature that is quite useful is the option to password protect a specific directory or folder.
To password-protect a directory:
1. Log in to the Plesk administrative panel by going to:
https://serverIP:8443(Replace serverIP with your server IP address or server name)
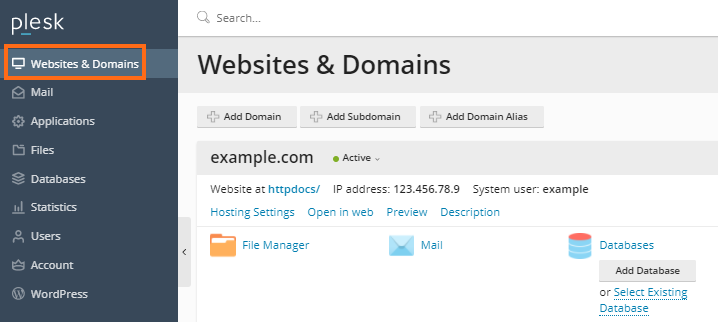
2. Choose Websites and Domains in the top navigation bar:
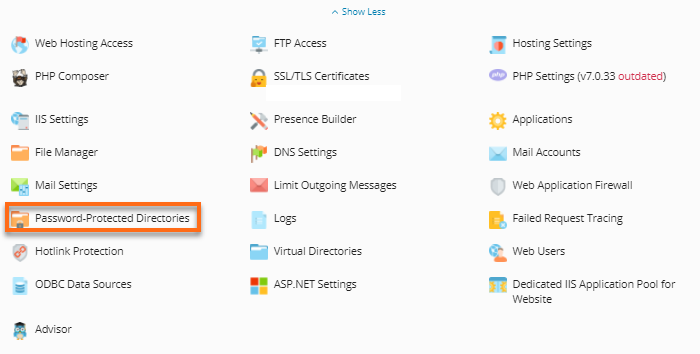
3. Select Password-Protected Directories from the list of options.
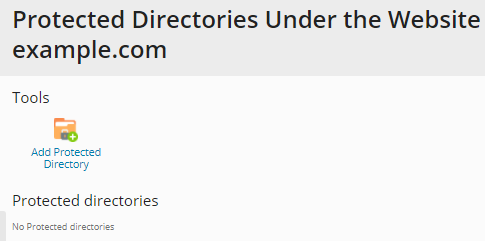
4. Select Add Protected Directory.
5. Provide the directory you wish to protect, then click OK.
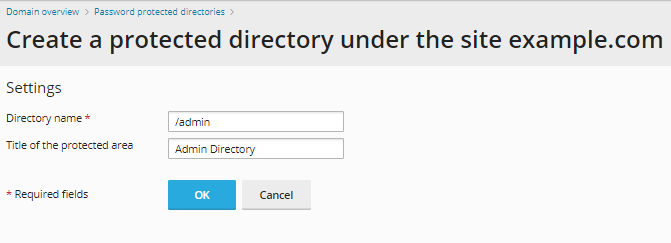
Directory name: This is the directory or the document root of the domain you wish to protect.
Title of the protected area: This is the name you want to assign to your protected directory or folder.
When creating a password-protected directory, you would need to use "/" to protect the whole directory or "/foldername" for the subfolder.
For example, to protect example.com/admin, you would enter /admin for the Directory name.
6. Once the directory is added, click your directory so you can set a user and password to access the directory.
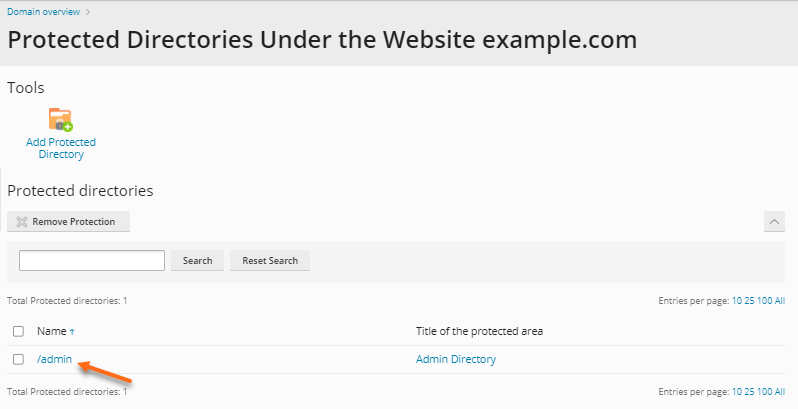
You can set a user and password to access the directory
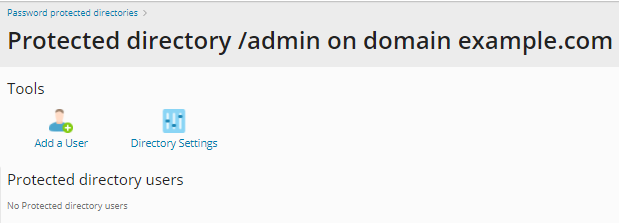
7. Click Add a User.
8. Enter the username and confirm the password, then click OK.
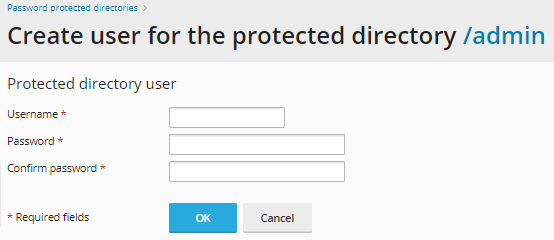
Success! The directory is now secured. When viewed in a browser, a password prompt will appear and will only allow users with access to view the contents of the directory.

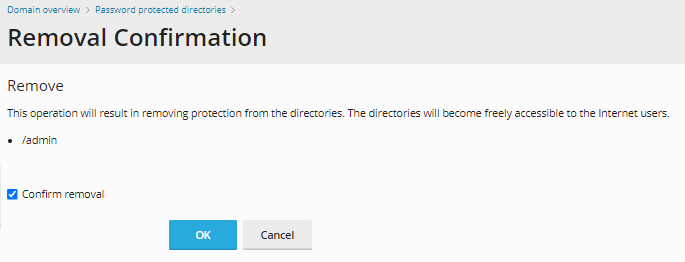
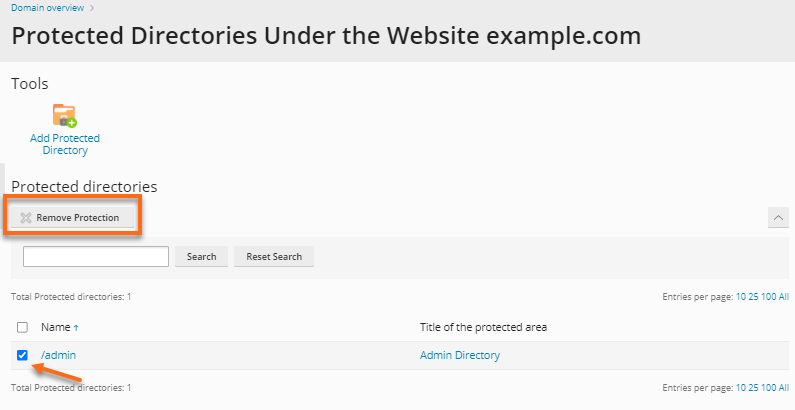
1. Put a checkmark on your directory.
2. Click Remove Protection found at the top of the search bar.
3. Select Confirm removal, then click OK.